The week before last was kind of hectic. I had my kitchen floors re-done. They were about 10 years old and were originally done with linoleum (ick). The stuff was starting to peel up in spots and just not quite looking so hot any more.
When I originally built the house with my now ex-girlfriend we didn't think we could afford the tile and so went the less expensive route. I wish we had done it the first time, but it's too late to cry over spilt milk.
In any case, Bling! helped me pick out my tile and accents. He has a far better eye than I do for putting colors and stuff together. I tend to vapor lock and drool when trying to put all this stuff together. As much as I can appreciate good interior decorating I just can't do it myself. We had hard time finding stuff that we liked, but ended up getting everything from Lowe's even though it was all custom ordered. The next part was picking out a pattern, and so I modified a standard pattern a bit to get the effect I wanted. The idea was to add some color, put something interesting down, and keep it so that it wasn't so busy as to be distracting to the eye.
I also had to find someone that could do the work as it was too big of a project for me and I just don't have time to do something like this. I ended up being referred to James Payton who has been doing this for a long time (20+ years!). His company is called Payton's Masonry Repair (817-925-2906) and he does all kinds of masonry (brick and stone) work including tile. He was very reasonably priced and I am pretty pleased with his work.
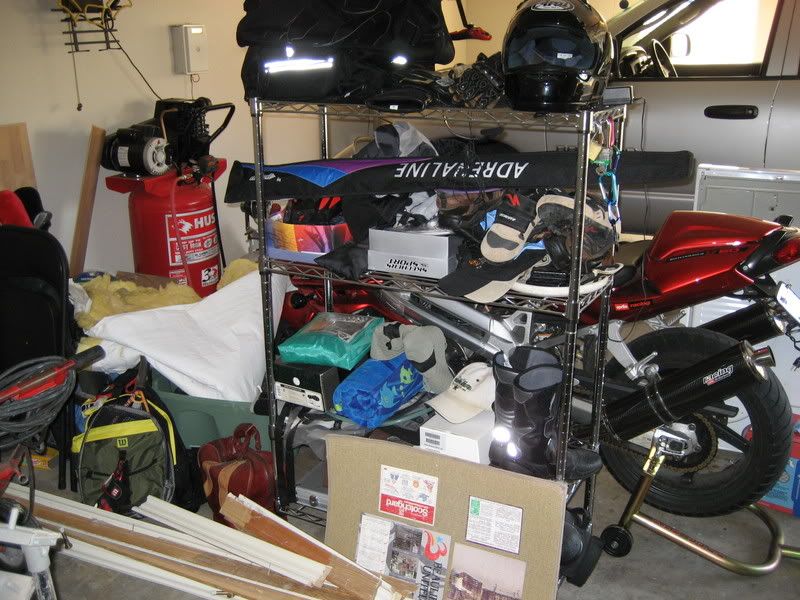 The first thing that had to be done was get everything out of the way so that he could tear the old linoleum out. That meant moving the fridge, stove, washer, dryer, foosball table, bakers rack, trash can, laundry basket, wine racks, etc. out of the area. Needless to say the house effectively became trashed and difficult to get around in from that point forward. My motorcycle was imprisoned for a week and we had awesome weather!!!
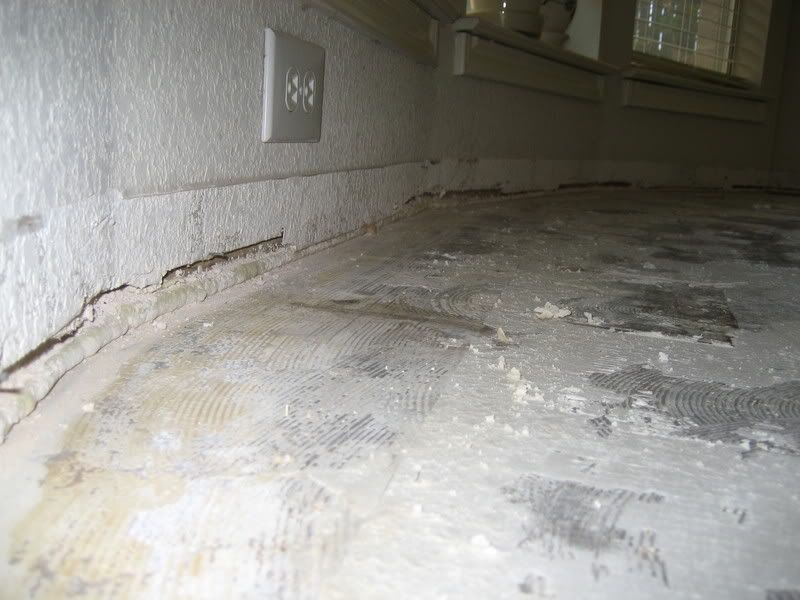
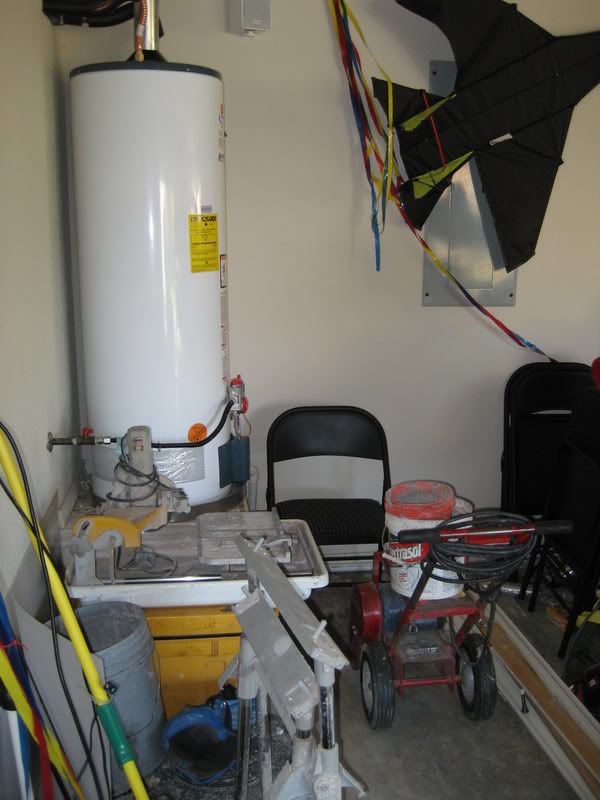 The James proceeded to tear all the old linoleum out, remove all the baseboards and wood trim, and scrape up all the crap off of the concrete. About this time, after returning from Chicago I noticed that my water heater was leaking so I had to have it replaced!!!! Fortunately there wasn’t any serious damage to anything and I was able to get it replace quickly.
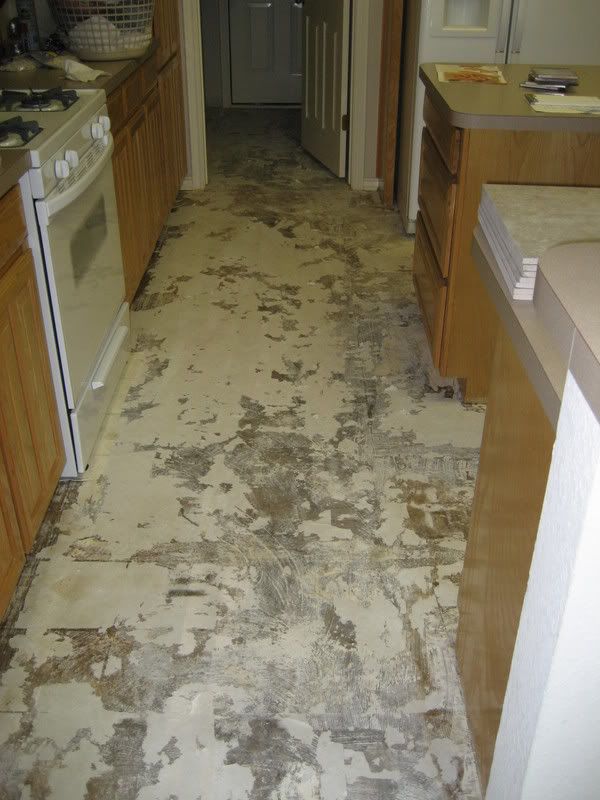
When I originally built the house with my now ex-girlfriend we didn't think we could afford the tile and so went the less expensive route. I wish we had done it the first time, but it's too late to cry over spilt milk.
In any case, Bling! helped me pick out my tile and accents. He has a far better eye than I do for putting colors and stuff together. I tend to vapor lock and drool when trying to put all this stuff together. As much as I can appreciate good interior decorating I just can't do it myself. We had hard time finding stuff that we liked, but ended up getting everything from Lowe's even though it was all custom ordered. The next part was picking out a pattern, and so I modified a standard pattern a bit to get the effect I wanted. The idea was to add some color, put something interesting down, and keep it so that it wasn't so busy as to be distracting to the eye.
I also had to find someone that could do the work as it was too big of a project for me and I just don't have time to do something like this. I ended up being referred to James Payton who has been doing this for a long time (20+ years!). His company is called Payton's Masonry Repair (817-925-2906) and he does all kinds of masonry (brick and stone) work including tile. He was very reasonably priced and I am pretty pleased with his work.
The first thing that had to be done was get everything out of the way so that he could tear the old linoleum out. That meant moving the fridge, stove, washer, dryer, foosball table, bakers rack, trash can, laundry basket, wine racks, etc. out of the area. Needless to say the house effectively became trashed and difficult to get around in from that point forward. My motorcycle was imprisoned for a week and we had awesome weather!!!The James proceeded to tear all the old linoleum out, remove all the baseboards and wood trim, and scrape up all the crap off of the concrete. About this time, after returning from Chicago I noticed that my water heater was leaking so I had to have it replaced!!!! Fortunately there wasn’t any serious damage to anything and I was able to get it replace quickly. 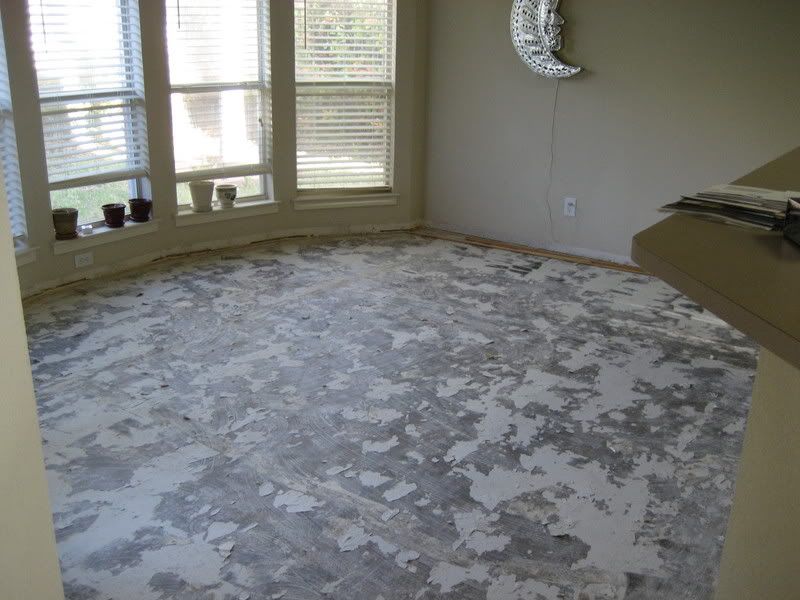
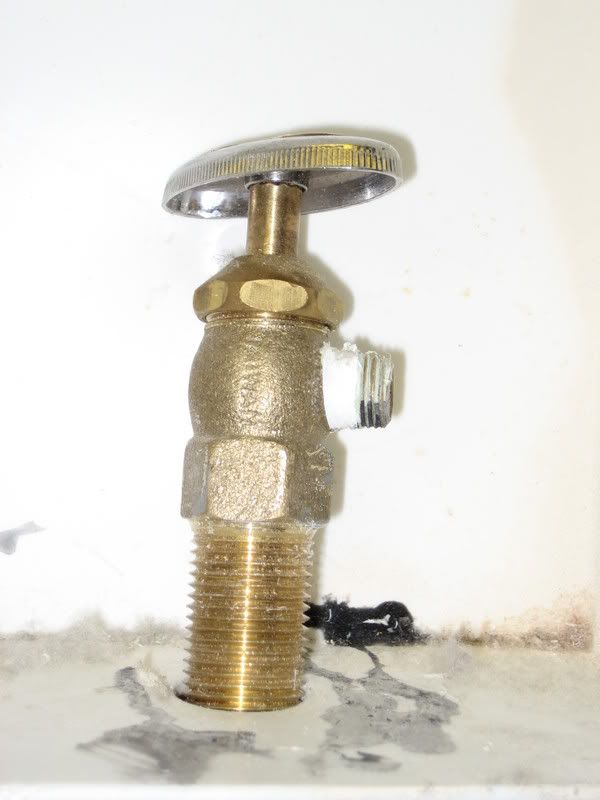 While I had everything out of there I decided to replace all of my lines with steel braided lines to ensure that they wouldn’t burst while I was out of town somewhere and flood the house. The washer and dryer were easy, but the check-valve for the fridge was (note was) a non-standard size of a 5/16” compression setting and everything is now standardized at ¼”. I vaguely recalled having to sacrifice a live chicken to find something that worked when we first moved in and hooked up the fridge. No such luck this time. Every hardware store told me that they didn’t make a 5/16” check valve. Really? Then what did I pull this off of? Oh, that…well…huh….they don’t make one. The easy solution? Replace it with a new check valve. No problem.
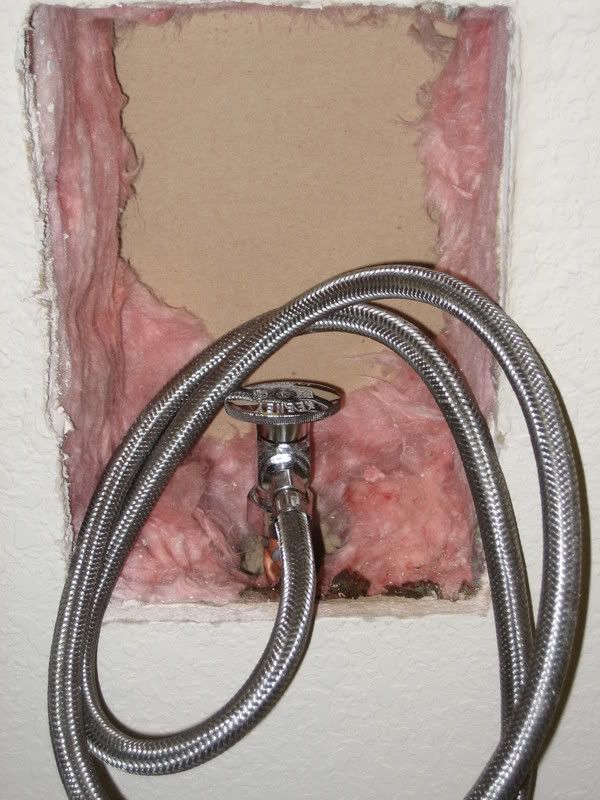 Until I get home and realize that the plumber was nice enough to have the valve encased in a little plastic recess in the wall and the pipe was cut EXACTLY to the base of the valve. This meant that I couldn’t get to the pipe! I had to cut out the wall, remove the old valve and plastic housing and then replace it all. But it’s now a ¼” check valve from here on out!!
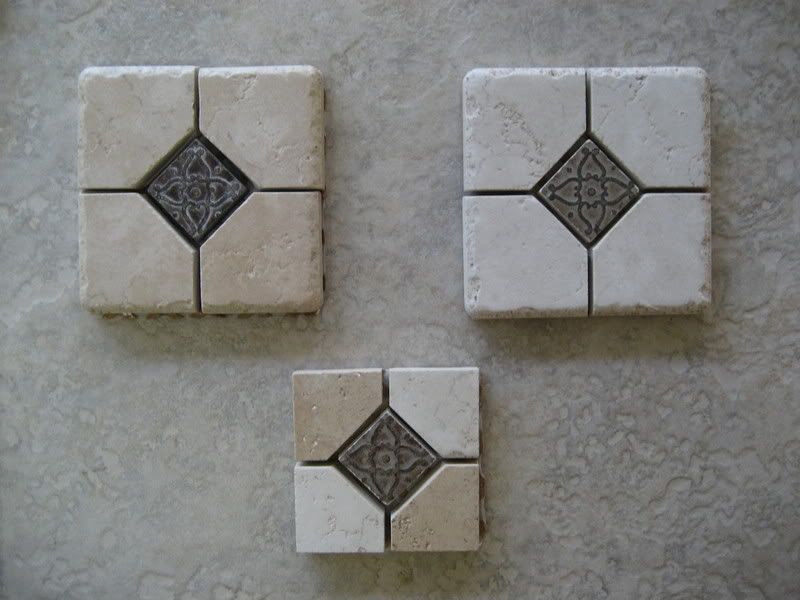
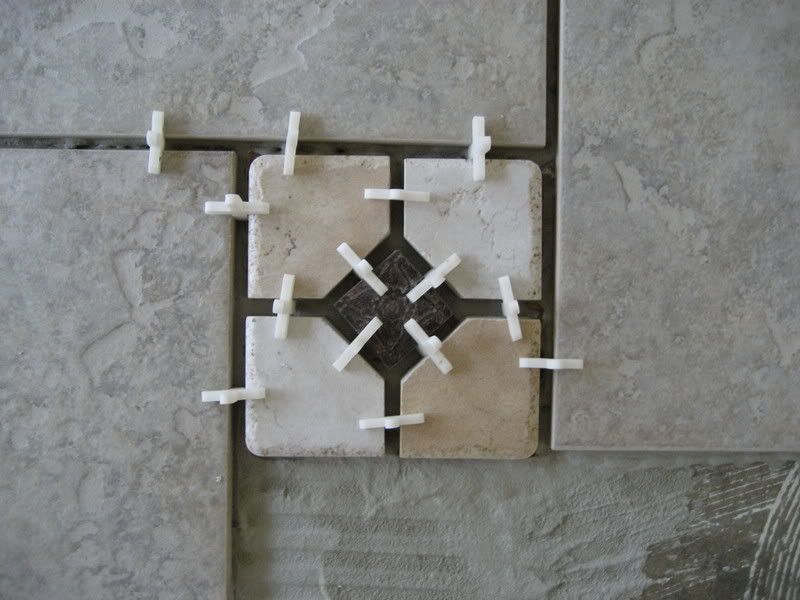
James was starting to lay tile at this point, but it took him a bit to get a feel for the patterns. He also had to hand “build” the accents on the fly. The pieces that I like weren’t made the way I wanted them. So I had to buy two pieces and then have them torn down and re-assembled while they were being laid. The two accents on the top make up what you see on the bottom.
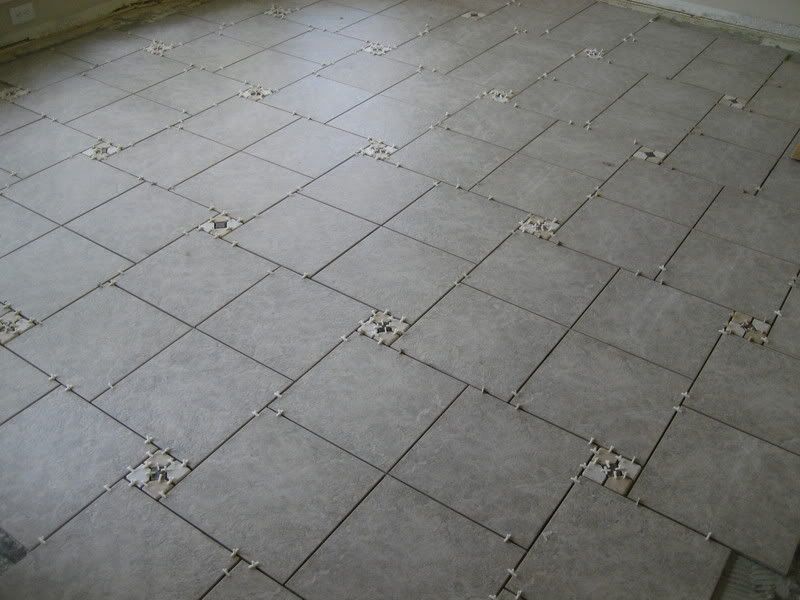 Because of the pattern, it turned out that aside from the first two tiles that were laid down that all but four of them had to be cut if they touched a wall or other leading edge. It was LOT of work and LOT of cutting!!!
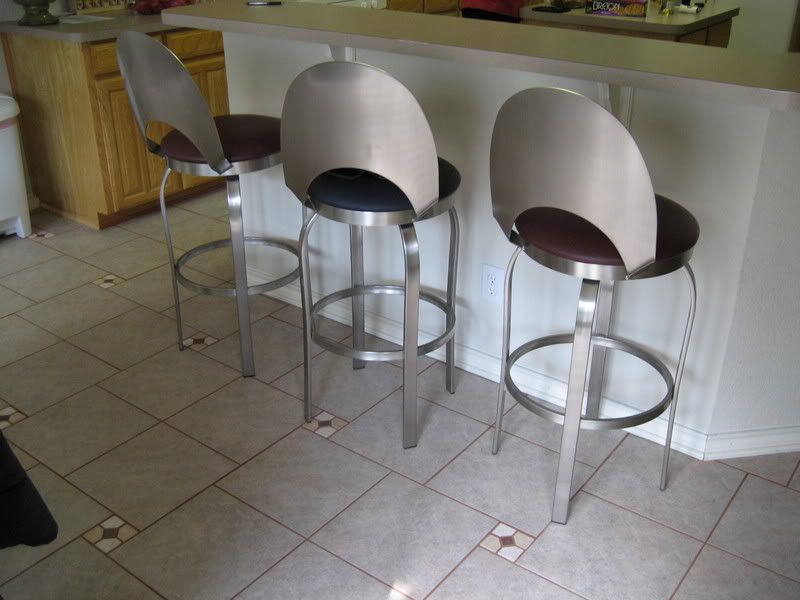
But once it was all in James laid in the grout. These picture show the grout as it is still drying. It’s not supposed to be nearly this red, and most of the red hue is grout dust that I haven’t gotten off the tile, yet. I figure it will take three or four moppings to get it all up, but here is the finished product.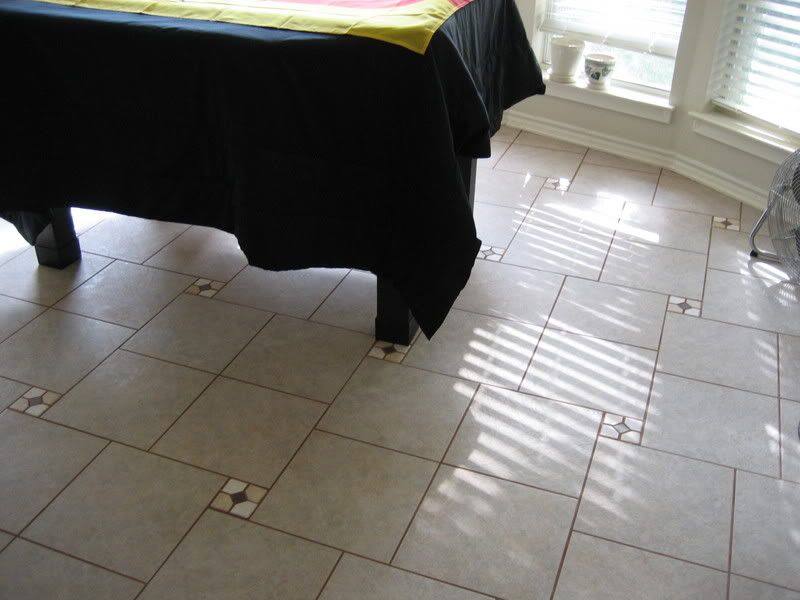

No comments:
Post a Comment